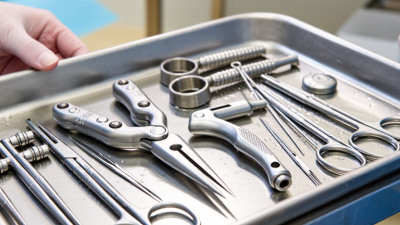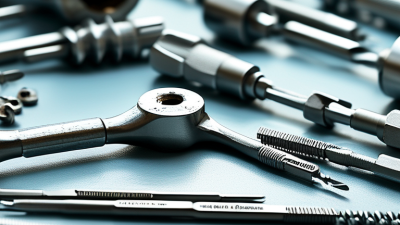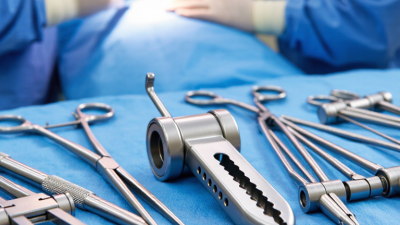
Ortho instruments are the practical tools behind orthopedic diagnosis, repair, and reconstruction. They include bone saws, drills, retractors, forceps, osteotomes, reduction clamps, and specialized implant systems. Each tool has a defined purpose, but its value depends on more than its shape. Material quality, balance, sterilization, visibility, and handling can affect every movement in the operating room.
Orthopedic surgeon and instrument designer Dr. James H. Beaty offers a useful principle: “The right instrument should support precision without distracting the surgeon.” That idea explains why experienced teams inspect instruments before surgery. A small clamp must close evenly. A drill should run smoothly. A retractor must hold tissue without unnecessary pressure. Details matter.
In practice, ortho instruments are selected according to the injury, bone quality, surgical approach, and patient anatomy. Trauma procedures may require reduction forceps and guidewires. Joint replacement may involve rasps, broaches, trial components, and alignment guides. Training also matters. A technically advanced tool cannot replace sound judgment or careful communication.
This topic is not entirely simple. Instrument names vary between manufacturers, and familiar designs may perform differently. Even experienced clinicians can overlook maintenance issues. That is why reliable use requires verified instructions, documented sterilization, and hands-on expertise. The sections ahead explain what ortho instruments are, how they work, and why correct selection can influence surgical efficiency, safety, and patient care.
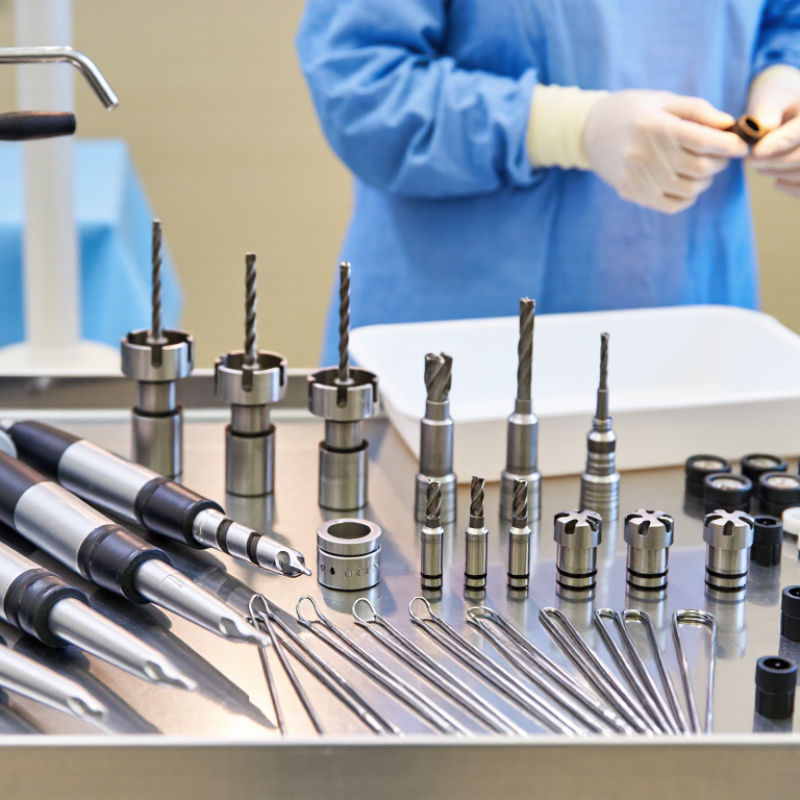
Ortho instruments are specialized tools used to examine, prepare, repair, and protect bones, joints, and surrounding tissues. They include bone saws, drills, retractors, osteotomes, forceps, clamps, and measuring devices. Each tool has a defined purpose. A retractor holds tissue away from the surgical field. A drill creates precise openings for screws or other fixation devices. An osteotome helps shape or separate bone under controlled pressure.
Their role in orthopedic care extends beyond the operating room. Clinicians may use measuring tools during assessment, reduction instruments during fracture treatment, and protective devices during rehabilitation. Instrument selection depends on the injury, anatomy, procedure, and the patient’s condition. Proper handling also matters. Staff must inspect instruments for damage, confirm sterility, and follow approved cleaning procedures. Small defects can affect control and accuracy.
Yet instruments do not replace clinical judgment. A familiar tool may be unsuitable for unusual bone quality or limited access. Even a detailed checklist can miss a problem when communication fails. Trained orthopedic teams review the surgical plan, confirm instrument function, and respond to changing conditions during care. Their experience helps connect the tool’s design with the patient’s actual needs, although no technique is completely free from risk.
What Are Ortho Instruments and How Are They Used?
Main Categories of Orthopedic Instruments
Orthopedic instruments support bone, joint, and soft-tissue procedures. Their categories reflect specific surgical tasks, not merely their appearance. Cutting instruments, including osteotomes and surgical saws, shape or remove bone with controlled force. Grasping instruments hold tissue or implants securely. Retractors keep the operative field visible, while elevators separate tissue from bone. Small differences in jaw design can affect handling and tissue pressure.
Bone-preparation tools include reamers, drills, broaches, and rasps. They create channels or surfaces for fixation components. Measuring instruments help surgeons check alignment, depth, and limb length. Fixation tools, such as drivers, inserters, and compression devices, place screws, plates, or other stabilizing components. Powered systems can shorten cutting time, but they demand careful control and maintenance. Faster is not always safer.
The World Health Organization reports that about 1.71 billion people live with musculoskeletal conditions worldwide. The National Joint Registry’s 2023 report recorded more than 230,000 hip and knee replacement procedures across England, Wales, and Northern Ireland in 2022. These figures help explain the continued need for reliable instrument systems. In practice, instrument selection depends on anatomy, procedure type, surgeon experience, and sterilization workflow. A retractor may look simple, yet poor positioning can obstruct visibility or increase tissue stress. That detail is easy to underestimate. Surgical teams should also inspect hinges, cutting edges, insulation, and measurement markings before use, although real-world checks are sometimes rushed.
| Instrument Category | Common Instruments | Primary Function | Typical Orthopedic Application | Key Design Features |
|---|---|---|---|---|
| Cutting and Dissecting | Scalpels, osteotomes, chisels, bone saws | Cut or remove soft tissue and bone | Bone preparation, osteotomy, joint replacement, and removal of damaged bone | Sharp or serrated working edges; osteotomes and chisels are designed to be driven with controlled force |
| Grasping and Holding | Tissue forceps, bone-holding forceps, reduction forceps | Hold, stabilize, or manipulate tissue and bone | Fracture reduction, tissue handling, and temporary stabilization of bone fragments | Textured or serrated jaws; some models include ratchets or pointed tips for secure grip |
| Retracting | Hohmann retractors, Army-Navy retractors, bone levers | Move soft tissue or muscle away from the surgical field | Exposure during fracture fixation, arthroplasty, and spine procedures | Broad, curved, or pointed blades designed to provide controlled exposure while limiting obstruction |
| Drilling and Reaming | Drill bits, cannulated drills, reamers, awls | Create, enlarge, or prepare holes and canals in bone | Screw placement, intramedullary nailing, and preparation for joint implants | Cutting flutes, calibrated diameters, and optional hollow shafts for guidewire use |
| Reduction and Alignment | Bone clamps, pointed reduction forceps, reduction hooks | Restore and maintain the position of bone fragments | Management of fractures before temporary or permanent fixation | Angled jaws, pointed tips, and locking mechanisms for controlled compression or alignment |
| Fixation and Implant Handling | Screwdrivers, plate benders, depth gauges, guidewire instruments | Insert, measure, shape, or position orthopedic implants | Internal fixation with plates, screws, pins, wires, and related implants | Size-specific interfaces, measurement markings, torque control, or implant-compatible tips |
| Impaction and Extraction | Surgical mallets, impactors, extraction tools, slap hammers | Deliver controlled impact or remove implants and instruments | Component insertion, trial implant positioning, and revision procedures | Impact-resistant faces, interchangeable tips, threaded connections, or extraction interfaces |
| Measuring and Assessment | Depth gauges, osteotomy rulers, calipers, alignment guides | Measure depth, length, angle, or alignment | Selection and positioning of screws, implants, and bone cuts | Graduated scales, reference markings, calibrated tips, and alignment surfaces |
| Suction and Irrigation | Suction tips, irrigation cannulas, lavage systems | Remove blood and debris or deliver sterile fluid | Maintaining visibility and clearing bone debris during surgery | Hollow channels, controlled openings, and ergonomic handles for fluid management |
| Arthroscopy Instruments | Arthroscopic graspers, punches, shavers, probes | Inspect, cut, grasp, or remove tissue through small portals | Knee, shoulder, hip, ankle, and other minimally invasive joint procedures | Long narrow shafts, angled tips, small working ends, and compatibility with visualization systems |
| Spinal Instruments | Curettes, pedicle probes, rod holders, nerve-root retractors | Prepare spinal anatomy and place or manipulate spinal implants | Decompression, fusion, correction of spinal alignment, and stabilization | Long-reach shafts, controlled tips, depth markings, and designs intended for precise access |
| Power and Energy-Driven | Powered saws, drills, burrs, and reaming systems | Perform repetitive cutting, drilling, or shaping with mechanical power | Joint replacement, trauma surgery, bone contouring, and spinal procedures | Motor-driven operation, interchangeable attachments, speed control, and irrigation options |
Orthopedic instruments are selected according to the procedure, anatomy, implant system, surgical approach, and required level of precision. Reusable instruments must be cleaned, inspected, sterilized, and maintained according to applicable clinical protocols and manufacturer instructions.
Orthopedic instruments are designed to examine, prepare, align, and stabilize bones or joints. During a clinical procedure, the team selects tools according to the injury, imaging, and planned technique. A ruler or caliper may check length, while an awl can mark a controlled entry point. Forceps hold tissue gently, and retractors keep the surgical field visible. Every instrument has a defined purpose. Misuse can damage tissue or affect alignment.
In fracture care, clamps temporarily hold bone fragments while the surgeon confirms position. Drills create measured channels for screws, and depth gauges help determine suitable fixation length. Taps prepare threads when required. A torque-limiting driver can help control tightening, although judgment remains essential. In joint procedures, cutting guides and alignment rods support accurate bone preparation. The team repeatedly checks landmarks, limb position, and imaging rather than trusting one measurement. Small errors can become obvious later.
Before use, instruments are inspected for cleanliness, function, and damage under the facility’s sterile processing protocol. During surgery, staff pass instruments safely and track each item. Afterward, cleaning and sterilization follow validated procedures. Practice matters. Even experienced teams can miss a loose handle or worn tip when the room is busy. That weakness deserves review, not concealment. Proper training, documentation, and patient-specific planning make instrument use safer and more consistent.
Orthopaedic instruments include reamers, drills, saw blades, retractors, and fixation tools. Their complex joints, narrow channels, and sharp edges can retain bone debris or tissue. Sterilization therefore begins before the instrument reaches the processing area. Staff should remove visible soil at the point of use, keep instruments moist, and transport them in closed, labeled containers.
Cleaning must follow validated instructions and facility procedures. The CDC classifies instruments entering sterile tissue as critical items requiring sterilization. AAMI ST79 also emphasizes cleaning, inspection, packaging, and routine monitoring. Drying matters. Moisture can encourage corrosion and compromise packaging. The World Health Organization reported that surgical site infections affect about 11% of surgical patients in low- and middle-income countries. Reliable reprocessing is not a minor administrative task.
Technicians should inspect hinges, teeth, insulation, alignment, and lumens under strong light. Cannulated tools need the correct brush size and thorough flushing. A cracked handle may look usable. It is not. Mechanical, chemical, and biological indicators provide different evidence about each sterilization cycle. Records should link the load, operator, equipment, and release decision. Safe handling includes gloves, eye protection, careful lifting, and separate control of sharp instruments. Do not overload trays or stack heavy tools on delicate parts. One uncomfortable truth is that speed can quietly replace inspection. That weakness deserves regular review through competency checks, audits, and honest reporting of damaged or improperly processed instruments.
Orthopedic instruments should match the procedure, anatomy, and surgeon’s working style. A compact bone procedure may require precision drills, depth gauges, and narrow retractors. Larger fracture repairs often need reduction forceps, clamps, guide wires, and instruments that tolerate strong controlled pressure. Joint replacement procedures demand alignment guides, broaches, rasps, and trial components that support accurate positioning. The correct instrument should feel balanced, provide clear control, and fit the planned surgical approach.
Material choice also matters. Stainless steel instruments offer strength and repeated sterilization performance. Specialized surfaces may reduce glare or improve handling under bright operating lights. Cannulated instruments can guide wires through small access points, while angled tools may reach difficult anatomical areas. Teams should check instrument compatibility, imaging requirements, maintenance records, and sterilization instructions before surgery. A well-organized tray can reduce unnecessary instrument exchanges.
Small details matter. Very small details.
Selection is not always perfect. A tool may appear suitable during planning but feel awkward through a limited incision. Experienced teams review previous cases, patient anatomy, and possible complications before finalizing the set. They also inspect jaws, hinges, tips, and measurement markings for wear. A damaged clamp or poorly calibrated gauge can affect confidence and accuracy. I would not treat a standard tray as a universal solution; procedure-specific planning remains more reliable. Training, documented protocols, and communication between surgeons, nurses, and sterile-processing staff help keep instrument choices safe and consistent.
Orthopedic instruments are selected according to the surgical task, such as cutting bone, holding or reducing fragments, retracting soft tissue, drilling, or preparing and fixing implants. The chart shows representative instrument examples commonly associated with each function; the categories are not intended to represent a standardized instrument count.
WhatsApp us