What Are Implant Instruments and How Are They Used?
Dental implant treatment depends on more than the implant itself. A coordinated set of implant instruments helps clinicians examine the site, prepare bone, place components, and restore the tooth. These tools are designed for specific tasks, and their safe use requires training, careful planning, and appropriate sterilization.
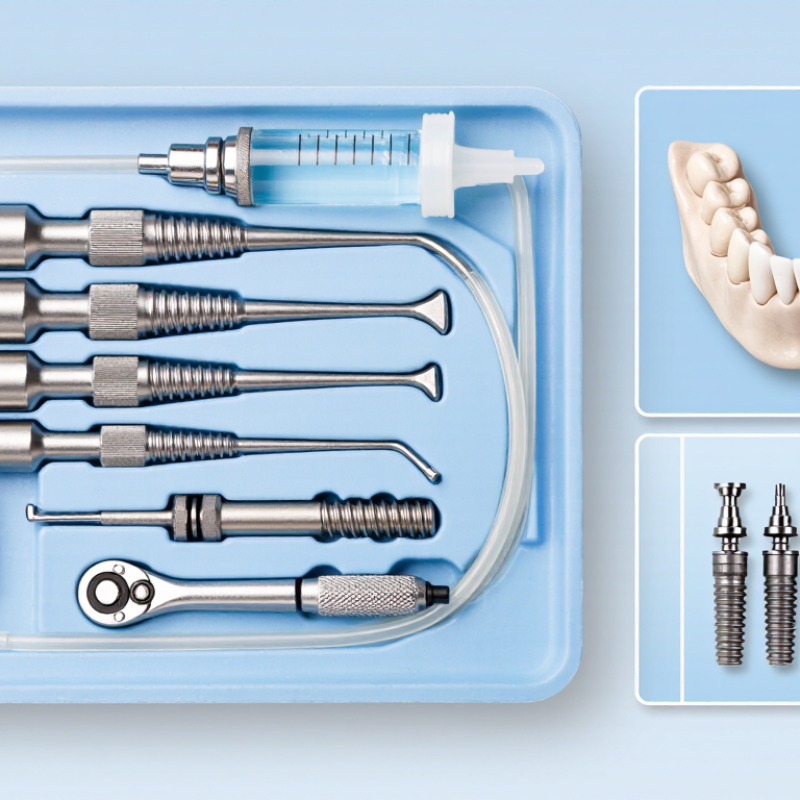
The instrument set may include surgical drills, depth gauges, irrigation equipment, implant drivers, and torque-control tools. Drills prepare a carefully measured channel in the jawbone, while irrigation helps keep the area cool during drilling. A depth gauge lets the clinician check the prepared site. Drivers guide the implant into position, and a torque wrench helps control tightening force. Small tools matter. So does judgment.
After placement, restorative instruments can help attach an abutment and shape or secure the replacement tooth. The exact instruments vary with the patient’s anatomy, treatment plan, implant system, and clinician’s technique. Even familiar tools may differ between manufacturers, so components are not always interchangeable. That detail is easy to overlook.
Understanding what implant instruments do can make a consultation less mysterious. It does not replace professional advice or hands-on clinical training. A patient can ask which tools are used and why; the dental team can explain how each step supports accuracy and comfort. Not every case follows the same sequence, and real procedures can involve adjustments. That is worth remembering.
What Are Implant Instruments?
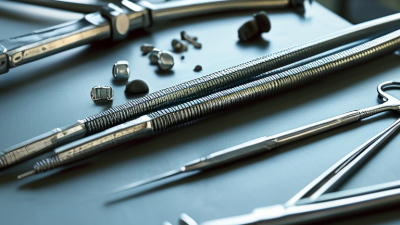
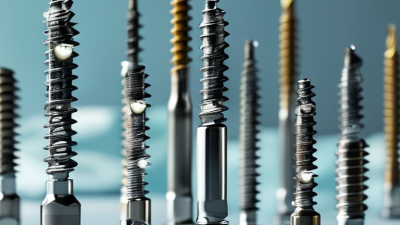
Implant instruments are the specialized tools clinicians use to plan, place, and restore dental implants. They may include drills that prepare a precise opening in the jawbone, depth gauges, irrigation equipment, implant drivers, and torque wrenches. Each tool has a defined role. A drill creates the implant site; a driver positions the implant; a torque wrench helps control tightening force. Prosthetic instruments later help secure the connecting component and replacement tooth.
The American Academy of Implant Dentistry has cited industry estimates of more than 3 million Americans with dental implants, with about 500,000 new procedures annually. These figures show why clear instrument knowledge matters, but they do not describe every patient’s needs. Clinicians select tools according to imaging, bone anatomy, and the implant system’s instructions. Sterile handling and routine checks also matter. A worn driver can slip. Small parts matter.
Tips: Before treatment, ask your clinician which instruments are used and how they are sterilized. For clinicians, check drill condition, irrigation flow, and torque-wrench calibration before use. A checklist helps, though it cannot replace careful judgment.
How Implant Instruments Are Classified
What Are Implant Instruments and How Are They Used?
How Implant Instruments Are Classified
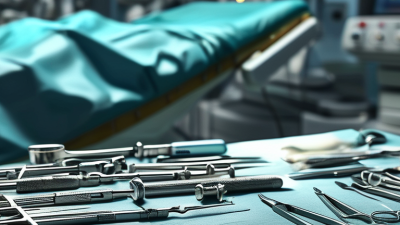
Implant instruments are commonly classified by the task they perform, rather than by appearance alone. This makes it easier to organize a surgical tray and check that each tool is available at the right stage. Exact sets vary with the treatment plan and the implant system being used.
Site-preparation instruments include drills, depth gauges, and osteotomes. Drills create the planned channel in bone, while depth gauges help verify its depth. Osteotomes may be used to shape or gently expand a prepared site. Small differences count. Instrument diameter and sequence should match the clinician’s plan, not guesswork.
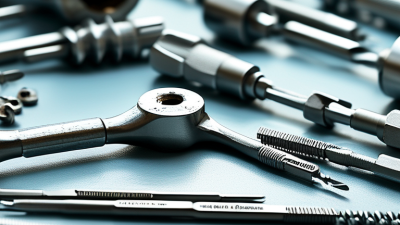
Placement instruments form another group. Drivers carry an implant into the prepared site, and torque-control tools help clinicians apply a measured force. Restorative instruments, such as abutment drivers and impression components, support later steps in rebuilding the tooth. Some tools fit more than one category, so classification is not always perfectly tidy. A practical check is to confirm each instrument’s purpose, condition, and compatibility before use. Dentists and trained staff should follow the manufacturer’s instructions and established sterilization procedures; a familiar-looking tool is not automatically interchangeable.
What Are Implant Instruments and How Are They Used? - How Implant Instruments Are Classified
| Instrument Classification |
Common Instruments |
Main Use |
Typical Procedure Stage |
| Incision and access |
Scalpel, periosteal elevator, surgical retractors |
Make an incision, lift the soft-tissue flap, and keep the surgical site visible. |
Site exposure |
| Osteotomy preparation |
Implant drills, drill stops, surgical handpiece |
Prepare the bone site in a planned sequence and to the intended dimensions. Drill selection and use depend on the implant system and clinical plan. |
Site preparation |
| Depth and direction checks |
Depth gauge, direction indicator, parallel pin |
Check osteotomy depth and assess the position or angulation of prepared sites. |
During and after site preparation |
| Bone and site management |
Bone curette, bone scraper, irrigation syringe |
Assist with site cleaning, collection or handling of bone material when indicated, and irrigation of the surgical site. |
Site preparation and grafting, when planned |
| Implant placement |
Implant driver, hand ratchet, torque wrench |
Carry and seat the implant in the prepared osteotomy. A torque wrench can measure or limit applied torque according to the device instructions and clinical plan. |
Implant insertion |
| Soft-tissue shaping and healing |
Tissue punch, healing-abutment driver |
A tissue punch may create a circular opening in selected protocols; a driver is used to place or remove a healing abutment. |
At placement or during healing-component exchange |
| Prosthetic connection |
Prosthetic screwdriver, abutment driver, torque wrench |
Connect or remove prosthetic components and tighten screws to the specified value when required. |
Restoration and maintenance |
| Measurement and planning |
Caliper, periodontal probe, radiographic or surgical guide |
Support clinical assessment and transfer planned position information to the surgical procedure; these tools do not replace clinical judgment or imaging. |
Assessment and guided placement, when used |
Instrument selection and surgical technique vary with the patient, anatomy, treatment plan, and implant system. Instruments should be used, cleaned, sterilized, and maintained according to their instructions for use and applicable clinical protocols.
Which Instruments Are Used in Implant Planning?
Implant planning begins with a clinical examination, not a scan alone. A periodontal probe helps assess gum condition and tissue depth, while a mouth mirror and photographs reveal areas that need closer attention. Existing dental images show roots and nearby anatomy. When indicated, cone-beam computed tomography (CBCT) provides a three-dimensional view of bone width, height, and important structures such as nerves. CBCT is not automatically needed for every patient; the clinician should choose imaging based on the case.
Digital planning combines CBCT data with an intraoral scanner’s record of teeth and bite. Planning software lets the clinician position a virtual implant and check its relationship to the final crown. A diagnostic wax-up or digital tooth design helps keep the plan focused on the intended restoration. A surgical guide may then transfer that plan to the mouth. Precision matters. A 2018 systematic review in Clinical Oral Implants Research reported mean deviations of about 1.2 mm at implant entry, 1.4 mm at the tip, and 3.5 degrees in angle for static computer-guided placement. A guide does not remove error. Patient movement, image quality, and clinical judgment still matter, and software can make a plan look more certain than it is.
How Are Implant Instruments Used During Surgery?
During implant surgery, instruments guide each step, but the exact sequence depends on the patient’s anatomy and treatment plan. After preparing a sterile field, the clinician may use a surgical guide or measured instruments to mark the planned implant position. A pilot drill creates the initial channel. Wider drills may then shape it gradually, with depth stops helping control how far they enter. Steady irrigation cools the site and clears bone debris. Small details matter.
The clinician checks the prepared site before placing the implant with a handpiece or torque-controlled driver. Insertion speed and force are monitored; excessive pressure can damage bone, while inadequate stability may affect the next steps. Depth gauges and visual checks help confirm position, and imaging may be used when clinically appropriate. Instruments are cleaned, sterilized, and inspected according to validated protocols. The team should follow the device instructions and its own clinical procedures. Even a carefully planned sequence can feel less tidy in real surgery: anatomy varies, and an instrument reading is only one part of the assessment. Regular training and deliberate checks help clinicians respond safely when the plan needs adjustment.
How Are Implant Instruments Cleaned and Maintained?
After surgery, implant instruments may carry blood and bone debris in narrow grooves, screwdrivers, and drill stops.
Clean them promptly, following each instrument’s instructions for use. Keep hinged parts open and disassemble only as directed. Use the specified detergent and water conditions; a washer-disinfector or ultrasonic cleaner can help reach crevices. Manual brushing may still be needed. Use a brush sized for the channel, and avoid metal tools that can scratch surfaces.
Rinse thoroughly, dry every channel, then inspect under bright light.
A clean-looking instrument can still hide residue. That detail is easy to miss. Check tips for dulling, corrosion, or distortion, and remove damaged instruments from service. Package instruments so steam can circulate, then sterilize using the validated cycle specified by the manufacturer. Do not shorten drying time to speed up turnover; trapped moisture can compromise packaging.
The CDC’s 2003 dental infection-control guidance recommends biological monitoring at least weekly and with every load containing implantable items.
It also advises holding those items until the test result is negative. Keep cycle records, including load details and monitoring results, and investigate failed indicators before releasing affected items. Staff training matters, too: a small lapse in brushing or drying can undo an otherwise careful process. Recheck local procedures and current manufacturer instructions regularly.